How to Replace Garage Door Springs
First Things First: Understand the Dangers of Garage Door Spring Replacement
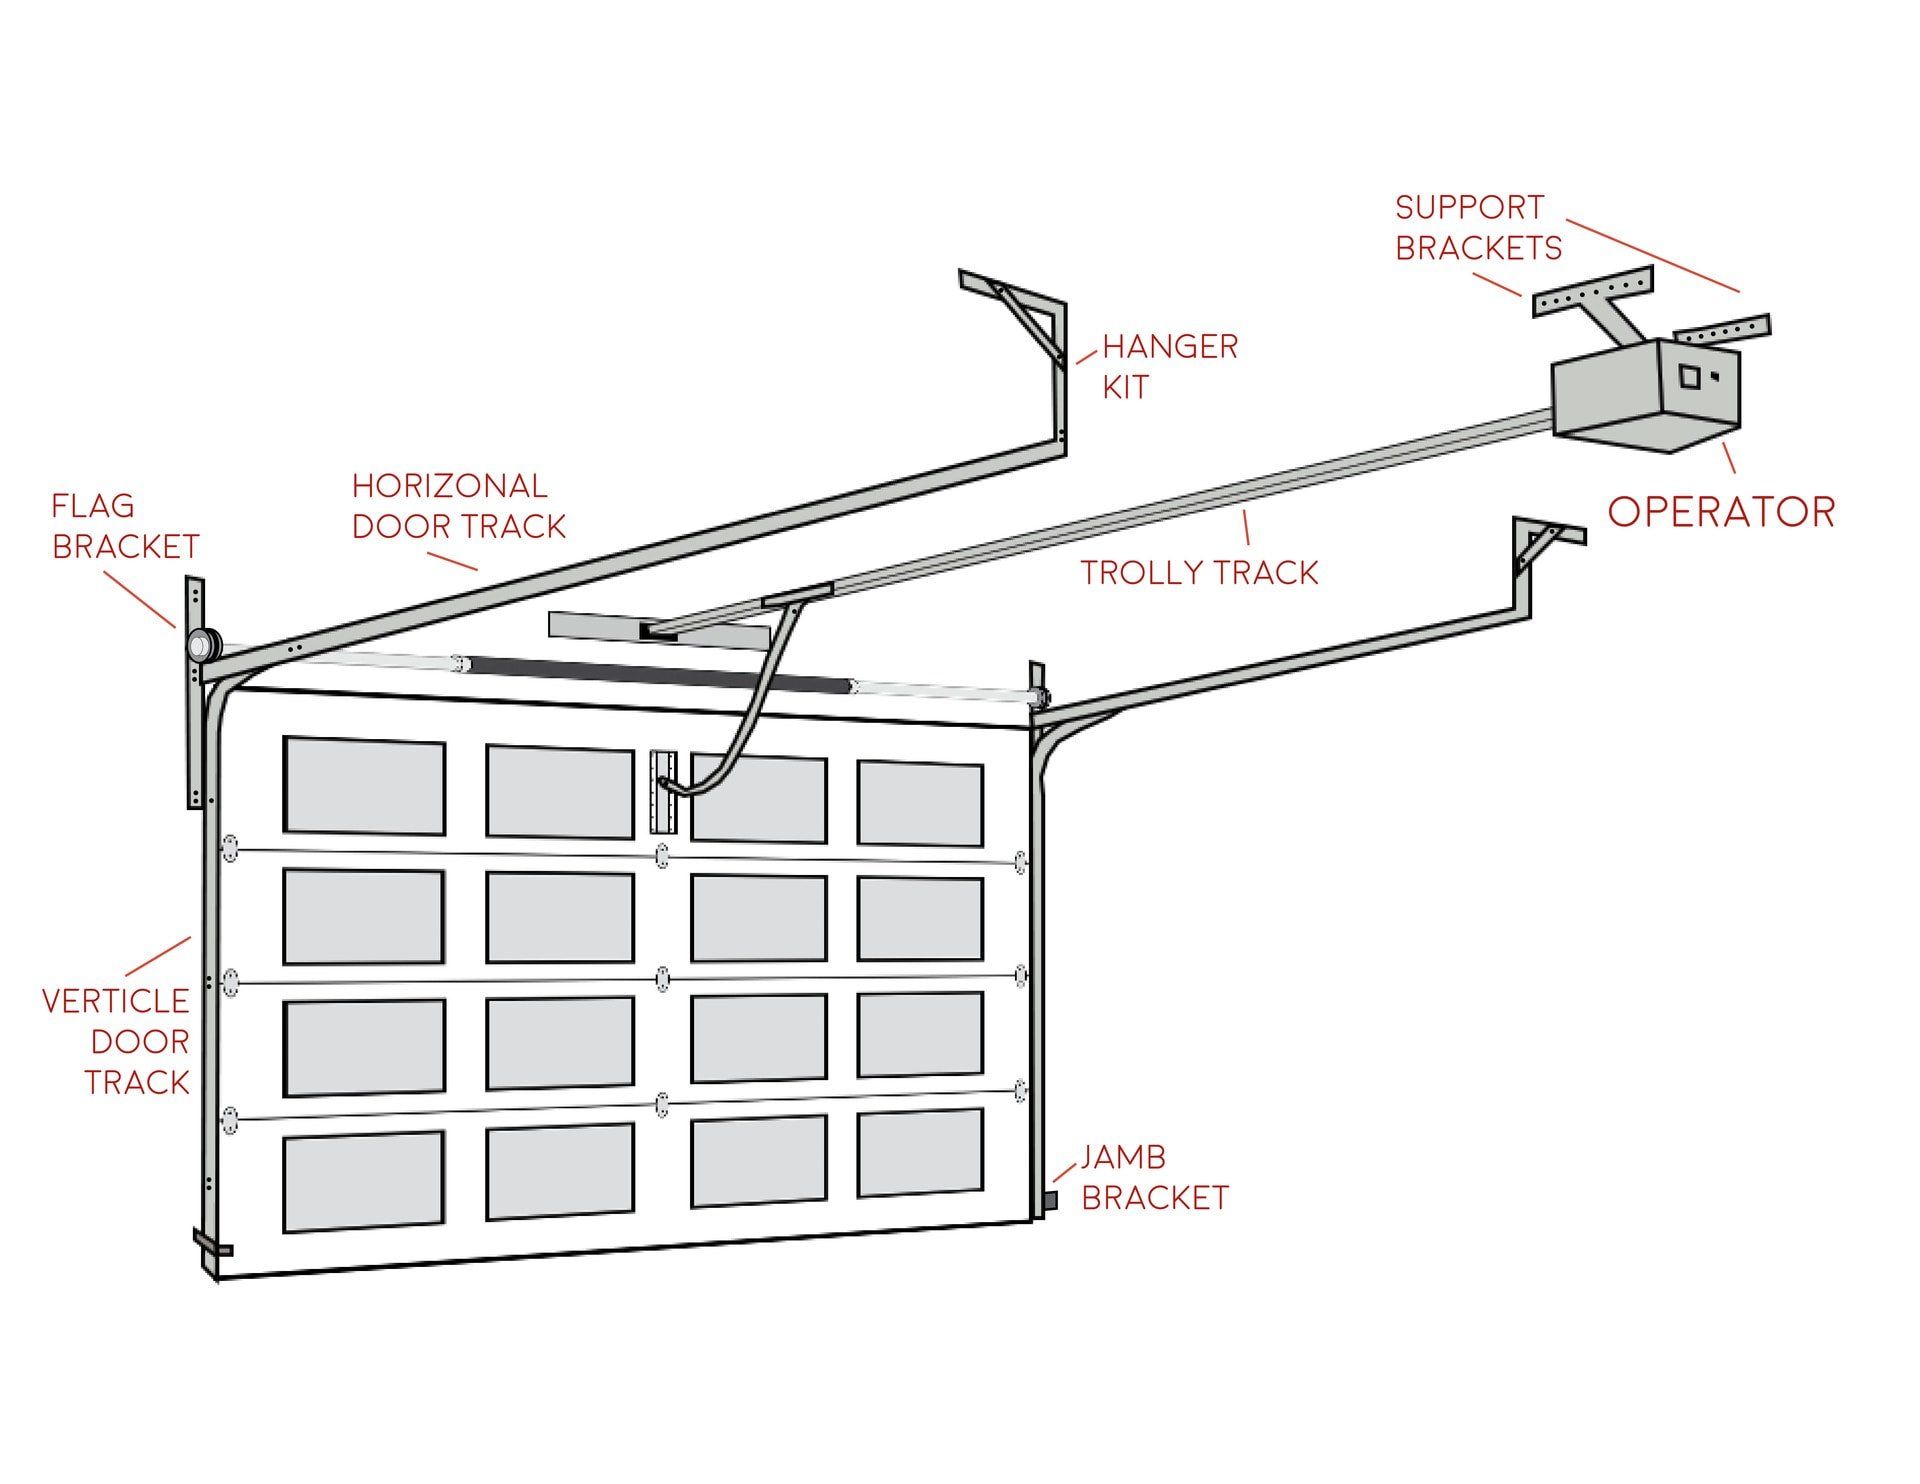
Step: 1 Identify The Type of Garage Door Springs
There are two types of garage door springs. The torsion and the extension springs.
Note: If your springs are color-coded, make sure to match whatever color your springs are when you get new springs.
Torsion Springs
These are very common in the garage door spring world. They are used in these categories:
- Steel Rolling
- Standard
- Early Set
- Torque Master
Torque springs, which are tightly wounded up coils, and used to lift up the garage door. They are more durable and less dangerous than the extension springs which I will discuss in a bit.
Extension Springs
These are also common. These springs contract and expand whenever the garage door is lowered or raised by hand. They are used in these categories:
- Open Looped
- Clipped ends
- Double Looped
We will go in-depth on how to replace the Extension type springs.
Step 2: Gather Up Materials
- 2 Vise-Grip Pliers
- 1 Locking Plier
- Tape
- Socket Wrenches
- Phillips Head ScrewDriver
Step 3: Open up Garage Door Completely
This ensures to remove any tension in the springs. After that, you want to lock the door in place with your 2 vise-grip pliers. This will prevent the door from closing down on you.
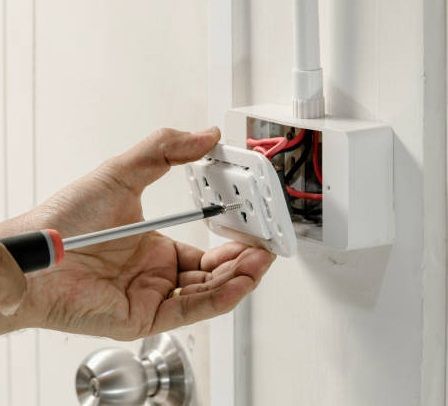
Step 4: Disengage the Electrical Door opener
Trust me on this one, disengaging the electrical door opener, makes things easier. Release all the tension from the slotted angle bracket by removing the attachment hook or S-hook. Mark the hole with tape where you removed the hook for future references.
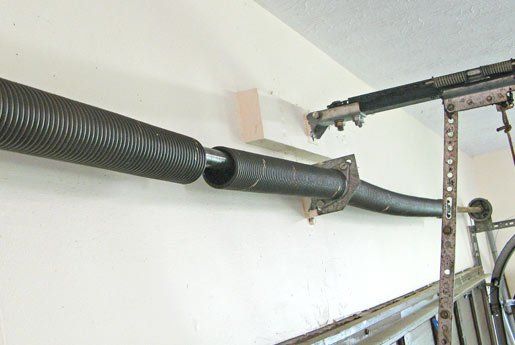
Step: 5 Remove the Spring Pulley
Remove the spring pulley by the axle and bolt. Note that if your spring pulley doesn't remove easily its most likely because of grease or from it just being worn down. Remove the other end of the spring from the attachment hook. Then disconnect the safety cable at the front and start feeding it through the spring.
Step 6: Replacing the Springs
Pass the free end part of the cable through the extension spring. Slide the spring along the extension cable and hook it onto the attachment hook. Attach the safety cable anchor plate to the slotted angle bracket Take the "u" shaped bracket and pass it threw the eye of the extension spring, and thread the extension cable onto the spring pully as before. Make sure the cable isn't twisted. Fasten the spring pully to the u bracket with an axle bolt. Move to the slotted angle bracket at front of your garage door and pull the extension cable until it's tense. Re-attach the attachment hook to the slotted angle bracket.
Step 7: Close the Garage Door and Test
Don't worry about activating the electrical door opener yet. This is when your garage door springs now. Remove the vise grip pliers, and see if your garage door stabilizes. If your garage door slams down shut, your springs are too lose If it opens by itself as soon as you let it go, there is too much tension. If it only does this a little bit. Then that is okay. Woohoo! You have now replaced your garage door springs!